
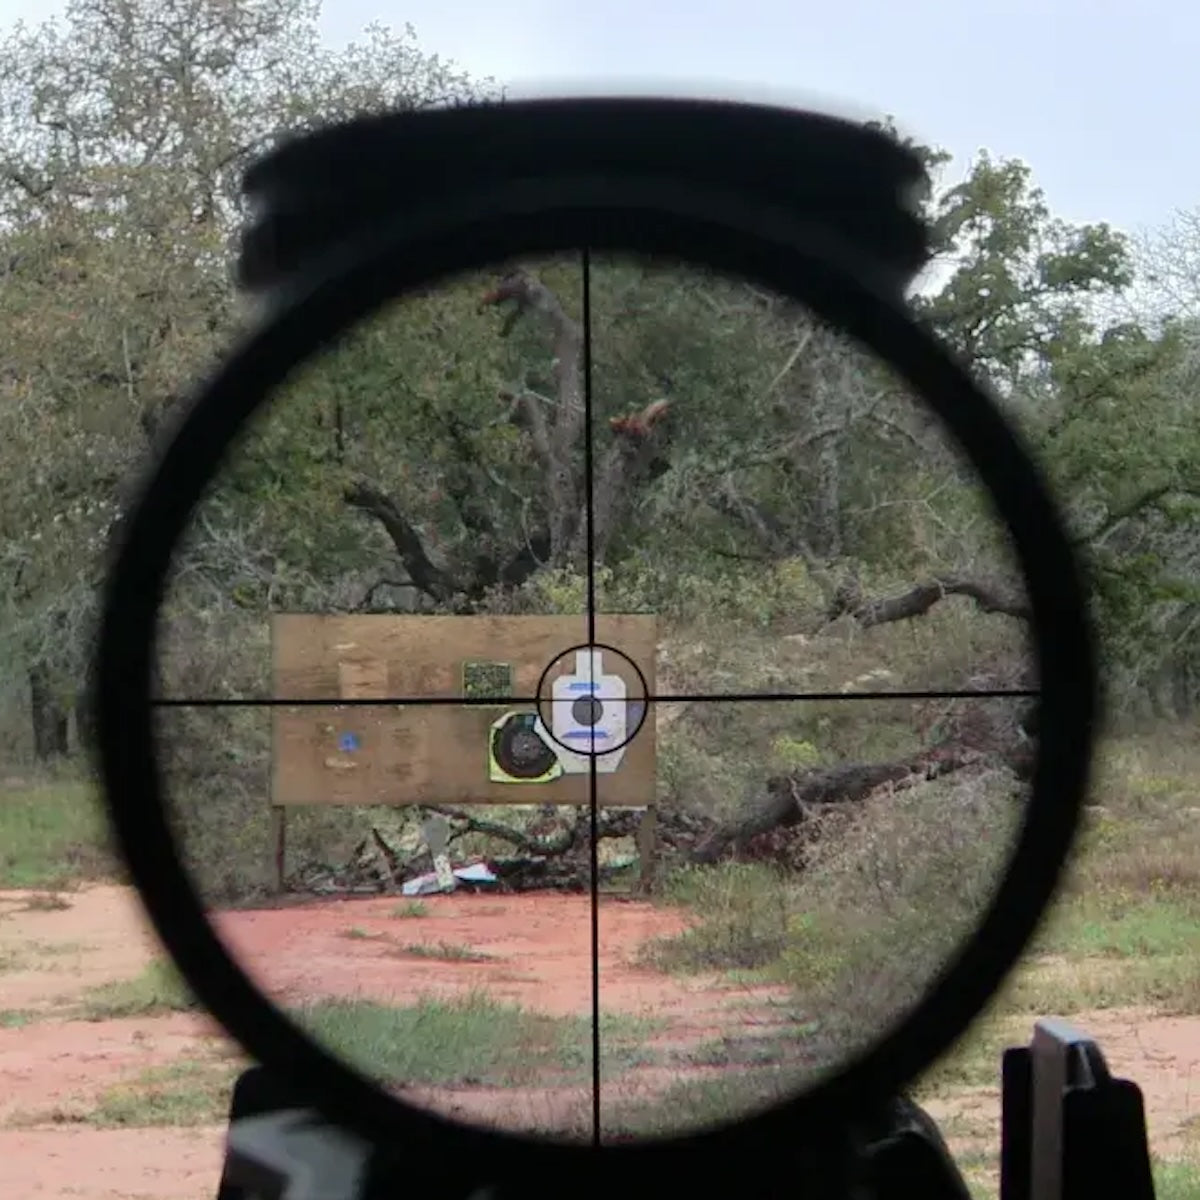
Zeroing a rifle scope means checking where your shots land in relation to where you're aiming, then making the necessary adjustments. A stable rest, consistent ammunition and patient group shooting matter more than rushing through the process. The steps below explain the basic workflow.
Understanding the Basics:
Before we delve into the steps, let's establish a fundamental understanding of what it means to "zero" a rifle scope. Zeroing refers to aligning the point of impact (where the bullet strikes the target) with the point of aim (where the crosshairs are positioned in the scope). Essentially, zeroing ensures that your rifle is accurately hitting the target where you intend.
Step 1: Secure a Stable Shooting Platform
Ensure your rifle is securely mounted on a stable shooting platform, such as a benchrest or sandbags. Stability is crucial for accurate adjustments, and a wobbly foundation can result in inconsistent zeroing.
Step 2: Choose the Right Target
Select a target appropriate for the distance at which you plan to shoot. A target with a defined point of aim, like a bullseye, is ideal for precise adjustments.
Step 3: Set an Initial Zero
Start by bore sighting your rifle, aligning the bore with the target. Bore sighting is a preliminary alignment, not a confirmed zero. Verify it by firing at a proper range.
Step 4: Fire a Group
Fire a three-shot group at your target. Focus on consistency in your shooting technique. The group's center will give you an indication of the adjustments needed.
Step 5: Make Elevation and Windage Adjustments
Using the turrets on your rifle scope, make adjustments based on where your group landed concerning the desired point of impact. Each click on the turret represents a specific adjustment, typically measured in minutes of angle (MOA) or fractions of an inch at a specific distance.
Elevation Adjustment: Dial up or down to move the point of impact vertically.
Windage Adjustment: Dial left or right to move the point of impact horizontally.
Step 6: Check and Repeat
Fire another three-shot group and assess where the shots land. Continue making adjustments as needed until the group consistently hits the desired point of aim.
Step 7: Confirm at Different Distances
Once the rifle is zeroed at your chosen distance, check where it hits at other distances. Do not assume the point of impact will remain on the crosshairs at every range.
Tips for Success:
Consistency is Key: Maintain a consistent shooting technique, including your stance, grip, and trigger control.
Patience Pays Off: Take your time with each adjustment and shot. Rushing the process can lead to inaccuracies.
Use Quality Ammunition: Consistent ammunition contributes to accurate zeroing. Use the same type and brand of ammo you intend to use regularly.
Consider Environmental Factors: Be aware of wind, weather, and other environmental factors that can influence bullet trajectory.
Document Your Settings: Keep a record of the adjustments made during zeroing. This documentation is valuable for future reference.
Conclusion:
Keep a record of the confirmed zero and use the ammunition you intend to hunt with. Consistent groups and careful verification are more useful than assuming a few turret clicks have solved every problem.
More perspectives →