
A freezer full of venison ought to make dinner easier. Sometimes it does the opposite: the burger comes in blocks too big for one meal, the roast has no label, and the steaks you wanted are somewhere underneath both. The hunting went fine. The packaging plan needs work.
The best time to fix that is before the next animal reaches the cutting table. Decide what you want to cook, how much your household uses and where each package will go. Whether you butcher your own deer or pay a processor, those decisions turn a pile of meat into a useful supply of food.
Write the cut order from your kitchen
Start with meals you already like. If venison tacos are a regular dinner, package ground meat in the amount that dinner takes. If you cook for two, don't wrap every roast for a hunting camp. If you make a big pot of chili for lunches, give that batch its own larger package instead of opening several small ones.
There's no prize for producing the most impressive list of cuts. Save the cuts you'll enjoy cooking, and be honest about the rest. A household that eats burger every week and roasts twice a winter needs a different order from one that regularly braises meat on Sundays. You can leave room for an experiment without turning half a deer into homework.
Write those preferences down before calling the processor. Ask about package weights, which cuts they can keep separate, what goes into the grind and how the finished meat is labeled. If you do the work yourself, put the same list beside the wrapping station. It's easier to settle those questions before everyone's tired and reaching for another bag.
Give each package one job
The National Center for Home Food Preservation recommends meal-size portions and includes deer and other large game in its freezing guidance. That's a useful starting point, not a prescribed weight. Your package size should fit your pan and the people you're feeding.
Separate cuts that need different treatment. Mixing unidentified chunks together gives the cook another sorting job after thawing. Keep an identifiable roast intact if you have a plan for it. Label stew meat as stew meat. When wrapping individual steaks or patties together, the center recommends separating them with two layers of freezer paper or wrap so they're easier to pull apart.
For ground meat, a consistent package shape makes stacking and finding things simpler. Don't make a few giant bundles just to finish faster. A little extra work at the table is worth it when you can pull out exactly what dinner needs.
This starts with properly handled, chilled meat. Wrapping is a storage step, not a way to rescue meat that was mishandled in the field or on the drive home.
Make the label useful to somebody else
“Deer” isn't much of a label in a freezer full of deer. Write the species, cut or grind, amount and packaging date. Include added ingredients, especially when ground meat contains pork or beef fat. The center's packaging guidance calls for the product name, added ingredients, date, amount or servings, and form of the food.
Add a short cooking cue if it helps: “chili batch,” “two steaks” or “Sunday roast.” Keep the actual cut or product name too. A recipe idea should add information, not replace it.
Use labels and markers intended for freezer conditions, and put the writing where it will be visible when packages are stacked. If someone else in the house has to ask what every bundle is, the system still depends on you remembering everything. Good labeling lets another person choose dinner without conducting an investigation.
Package well, then give the meat a place
Use freezer-rated materials. The center lists freezer paper or wrap for meat, with freezer bags or containers suitable for smaller portions. Its general guidance is to pack tightly with as little air as possible. If you use a vacuum sealer, follow its instructions for bags, filling and sealing; don't assume a noisy pump means the seal is sound. Check the finished package before it goes away.
Keep the freezer at 0°F or lower and check it with a freezer thermometer. That's the center's storage recommendation, not something to judge by whether a package feels hard through your gloves.
Once frozen, organize packages so you can find them without unloading the freezer. A basket for ground meat and another for whole cuts can be enough. Put the older packages where they'll get used first, rather than dropping the newest load on top and burying everything below it.
Keep a simple inventory nearby: product, package count and date. Cross a package off when it comes out. Paper works. So does a shared phone note. Use whichever one the household will actually maintain; an elaborate spreadsheet nobody updates is less useful than pencil marks on the freezer lid.
Plan the thaw along with dinner
Choosing a meal while standing hungry in front of frozen meat is how a good plan falls apart. Move the next meal's package to the refrigerator in advance, on a tray that contains any drips. Keep the refrigerator at 40°F or below.
The center's thawing guidance notes that even a pound of ground meat can require a full day in the refrigerator. Larger cuts need more planning. Don't thaw meat on the counter or in warm water. If you use the microwave to thaw it, cook it immediately afterward.
After a few meals, adjust your next cut order. Too much meat in every package? Make them smaller. Always opening two? Make them larger. Roasts disappearing while another cut sits untouched? Change the balance next time.
That's one of the advantages of putting up your own venison: you can make it fit the way you live. Get the portions, labels and storage sorted, and a deer you worked hard for becomes the obvious choice for an ordinary Tuesday dinner.
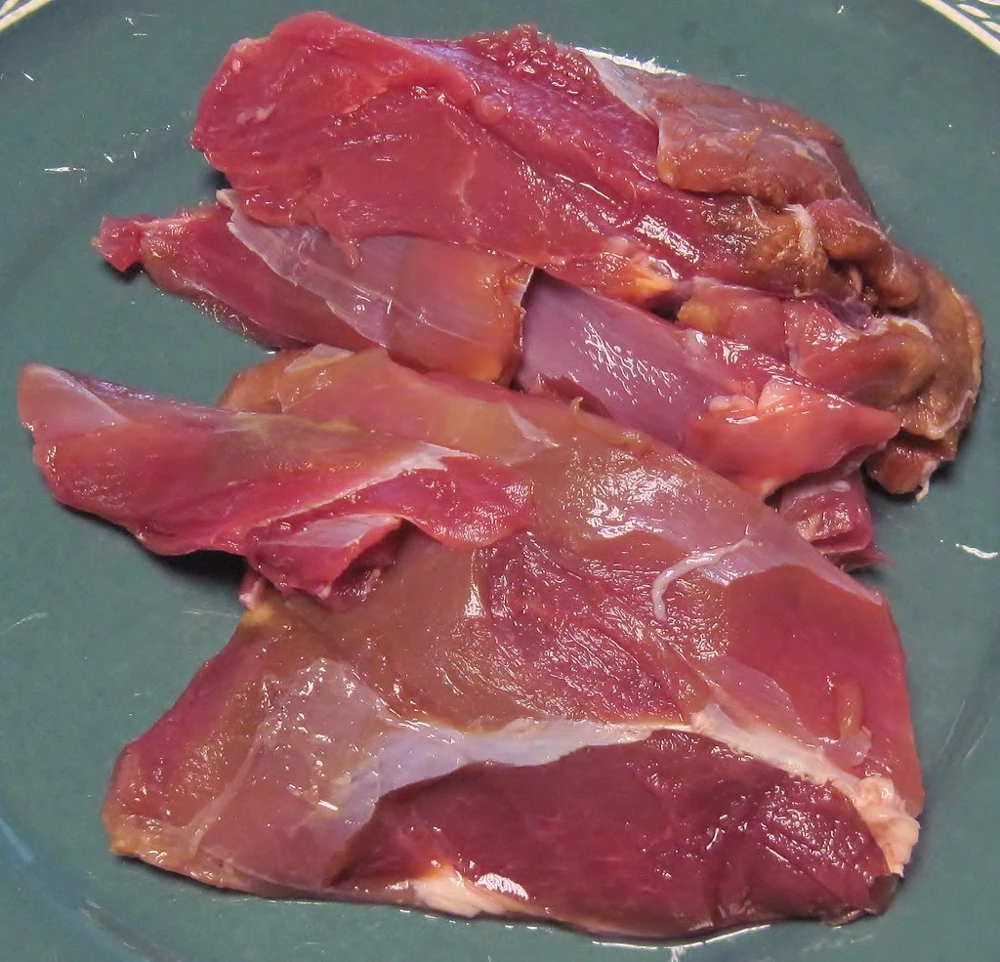
Photo: Gloria Cabada-Leman, “Venison shoulder meat trimmed from bone”, CC BY 2.0, via Flickr. Resized and converted to WebP; no crop. Archival food photograph, not a KILLSHOT harvest or an endorsement.
More perspectives →