
A good group from the bench answers one important question: can this rifle, ammunition and shooter put shots together under those conditions? It doesn't tell you what happens when the bench disappears, your jacket gets in the way and the only usable rest is lower than you expected.
The last range trip before a hunt ought to answer those questions too. Confirm the rifle first, then spend some of the session checking the positions and equipment you'll actually use. The point isn't to turn deer season into a shooting competition. It's to arrive with fewer unknowns and a workable plan for getting steady.
Confirm the rifle before testing yourself
Start with the ammunition you intend to hunt with, a stable rest and a known target distance. Texas Parks and Wildlife's rifle sighting guidance calls for practicing with the hunting ammunition, checking groups and taking time rather than rushing adjustments. A remembered zero isn't the same thing as a current check.
Keep this part of the session separate from field-position practice. If the rifle isn't grouping or placing shots as expected from a stable support, resolve that before trying to diagnose what happened from a kneeling position. Follow the rifle and optic manufacturers' instructions; an unexplained problem deserves attention, not a handful of hopeful turret clicks.
Use an established range or another lawful location with a suitable backstop, follow its rules and wear proper eye and hearing protection. Ask which positions and supports the range permits before building your practice plan. Changing positions must never mean losing control of the muzzle or handling a firearm during a ceasefire.
Bring the support that goes hunting
A heavy bench rest is useful for checking a rifle. It may have very little to do with the way you'll shoot from a blind, a hillside or the edge of a field. Bring the sticks, bipod or other support you actually carry and practice with it where range rules allow.
Work through the setup, not just the trigger press. Can you adjust the support without fumbling? Is there room for your knees? Can you settle behind the rifle without leaning awkwardly into it? If the setup only works on a perfectly level firing line, it's worth finding that out before the hunt.
Texas Parks and Wildlife's shooting-position guidance makes a useful distinction: prone offers stability, but grass and brush can block the low view. Standing offers visibility but is the least stable of the basic unsupported positions. The best-looking position on paper isn't automatically usable where you hunt.
For a conventional hunting-rifle rest, support the forestock rather than the barrel. TPWD also recommends cushioning contact with a hard surface. Practice with the arrangement you intend to use instead of assuming that any convenient ledge will feel like your range bags.
Wear the layers that can get in the way
Bring your hunting jacket and gloves. A comfortable fit in a T-shirt doesn't answer whether you can shoulder the rifle cleanly in your cold-weather layers. Check whether fabric bunches up, a cuff interferes or the stock lands differently against your shoulder.
Do the initial fit and handling checks with the firearm unloaded, following its manual and the range's rules. Keep ammunition out of that handling check, maintain a safe muzzle direction and keep your finger outside the trigger guard. Make clothing or equipment adjustments before returning to live fire, not while trying to salvage an awkward shot.
There's no need to replace clothing that works. The useful discovery might be as simple as changing how a sling sits over a jacket or choosing gloves you can handle the rifle with properly. A new purchase isn't the measure of a productive session.
Check distance without confusing it with ability
Known-distance targets make practice results meaningful. Record the actual distance rather than relying on how far away a target looks. Once you're hunting, knowing the distance still leaves the harder questions: is the animal clearly identified, is the shot unobstructed, is the background safe and can you make the shot from the available position?
If you need a rangefinder for that distance check, the Vortex Crossfire HD 1400 is one option with line-of-sight and angle-compensated ranging modes. Learn the modes in its manual and understand which reading you're using; a distance display doesn't establish a safe shot or your effective range. KILLSHOT Life may earn a commission if you buy through this Amazon link.
You don't need a rangefinder to use a properly marked range, and an existing reliable unit doesn't need replacing for this exercise. The purpose is to remove a distance guess, not to stretch a shot because a device can measure it.
Keep the ordinary results
Save the targets from your field-position practice, including the ones that aren't flattering. Label the distance, position, support and ammunition. Note whether you were comfortable and repeatable or struggling to hold steady. A photograph of the whole target is more useful than a crop around the best cluster.
Don't turn one successful attempt into a permanent distance limit. Repeat the useful positions over more than one session when possible, and let the less successful results guide what needs work. If the supported sitting position works and the standing shots don't, that is information you can use to plan a better setup.
A productive final range trip may send you home with the same rifle, the same ammunition and no new gear. What changes is that you've confirmed the equipment, practiced a usable support and found the awkward parts while there was time to fix them. That's preparation you can take into the woods, where a clean opportunity matters more than your best target.
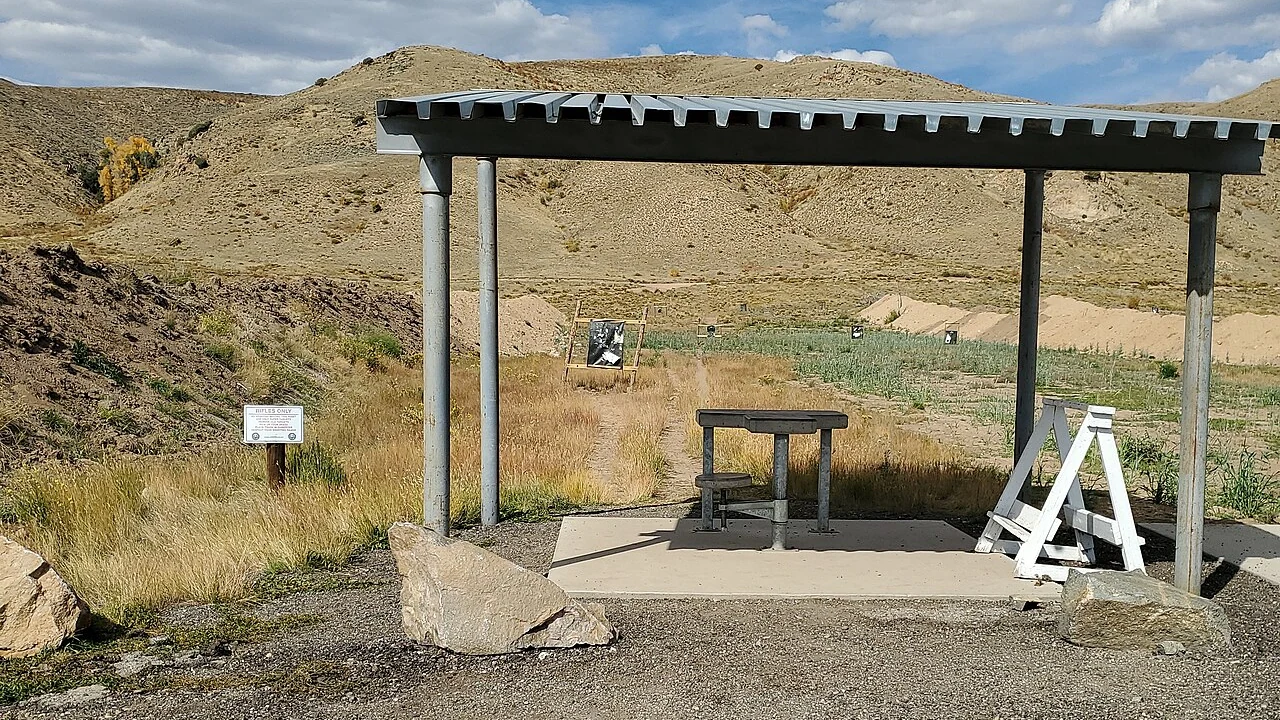
Photo: Covered shooting bench at Byers Canyon Rifle Range, photographed by Thewellman / Wikimedia Commons. CC0 public-domain dedication. Cropped and converted to WebP.
More perspectives →
As an Amazon Associate I earn from qualifying purchases.